How to Remove Press-On Nails with Care
By ROSAVAY · 1 min read
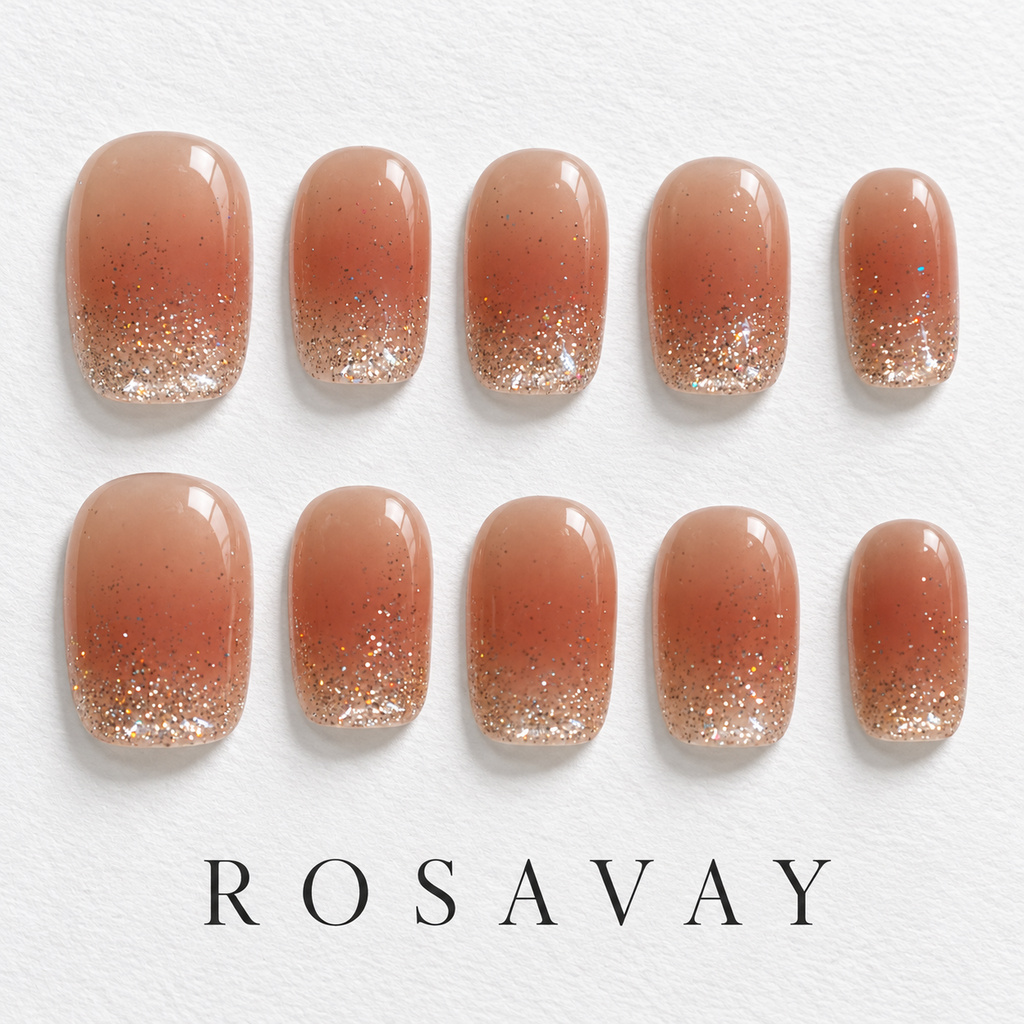
Removal advice needs to match the adhesive, not just the shape of the press-on. Keep the directions that came with your tabs and check them before you begin. Do not treat a liquid-adhesive removal tutorial as instructions for every adhesive.
Read the adhesive instructions first
Removal advice needs to match the adhesive, not just the shape of the press-on. Keep the directions that came with your tabs and check them before you begin. Do not treat a liquid-adhesive removal tutorial as instructions for every adhesive.
Make space for the removed nails and a clean towel. Give yourself time to stop if a nail resists rather than trying to finish before a particular minute mark.
Stop before you force it
Soak your fingertips in warm, soapy water before removing a set. Do not peel or force a nail off; if it resists, soak a little longer. Stop use if you notice pain, irritation or a change in your natural nail.
Do not slide a tool hard under the attached nail or pull from the cuticle. A nail that does not release is a reason to pause and follow the softening instructions, not to add more force.
Look at both surfaces
After removal, check your natural nails and the underside of each press-on. Do not scrape aggressively to chase every speck of residue. Follow the instructions for cleaning, and avoid putting a new tab over an uneven or wet surface.
Pain, irritation or a visible nail change is a reason to stop use. A qualified healthcare professional can advise on a nail or skin concern; a tutorial cannot diagnose it.
Before storing a set
Before considering another application, check each nail for cracks, a damaged finish, loose details or residue that prevents an even fit. Do not reapply a damaged nail, and follow the product and adhesive care instructions.
Keep the nails in order and separate pieces with raised details so they do not rub together. Read the nail-care guide before planning another application.